This post contains affiliate links. I will earn a small commission, at no extra cost to you, if you make a purchase through these links.
Have you tried propagating your houseplants and wondered why it didn’t work? Why new roots never grew? Why the cutting just sat in water for weeks until you decided to give up?
Fear not! In this post, I’ll tell you exactly what you need to do to propagate your plants successfully, and I’ve included a super helpful video tutorial too. Let’s get started!
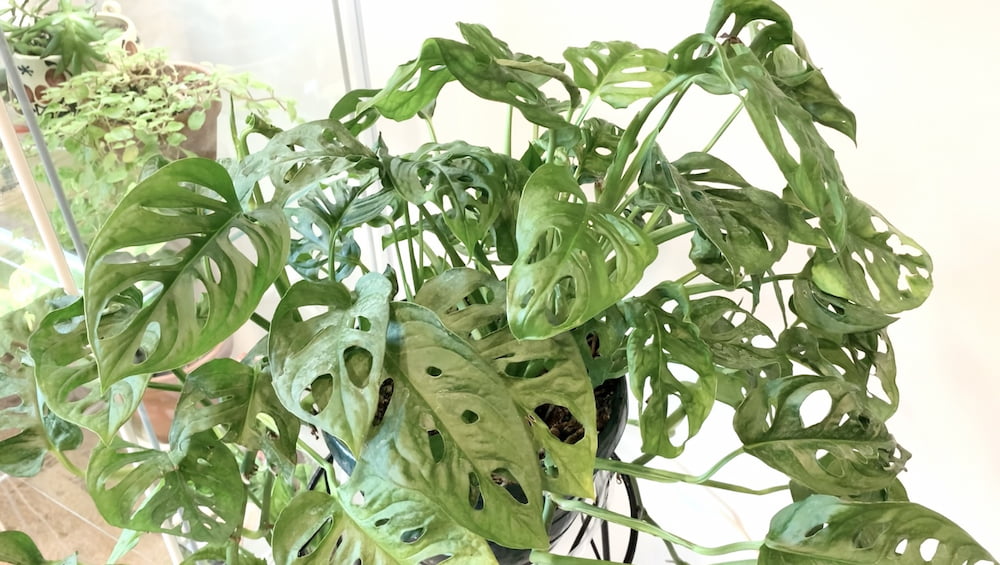
We’re going to learn how to propagate houseplants with my Monstera Adansonii (Swiss cheese plant).
If this is your first time propagating plants, I highly recommend learning with a vining plant like the Monstera Adansonii. Some other good options are pothos and vining philodendron (like the heartleaf philodendron).
This is because these plants have very obvious nodes and in general they just propagate really easily! Also, they will almost always bounce back quickly after having some of their vines chopped off. You definitely don’t want to learn with an expensive or finicky plant.
The Most Important Part of Propagating Plants
The nodes are the most crucial parts of propagating any plant. What is a node? They are the bumps you see along the stem or vine of a plant, and also where the leaves meet the stem.
New leaves, roots, and aerial roots grow from the nodes. New growth comes from nodes. What do we want to happen when we propagate our plants? We want the cutting to GROW new roots.
That means the cutting MUST include at least one node. If you cut off a piece of a vine with no nodes, nothing is going to happen. You will stare at the vine for weeks and wonder what you’re doing wrong.
So, what is the most important thing to remember when propagating plants? Say it with me: New growth comes from the nodes!
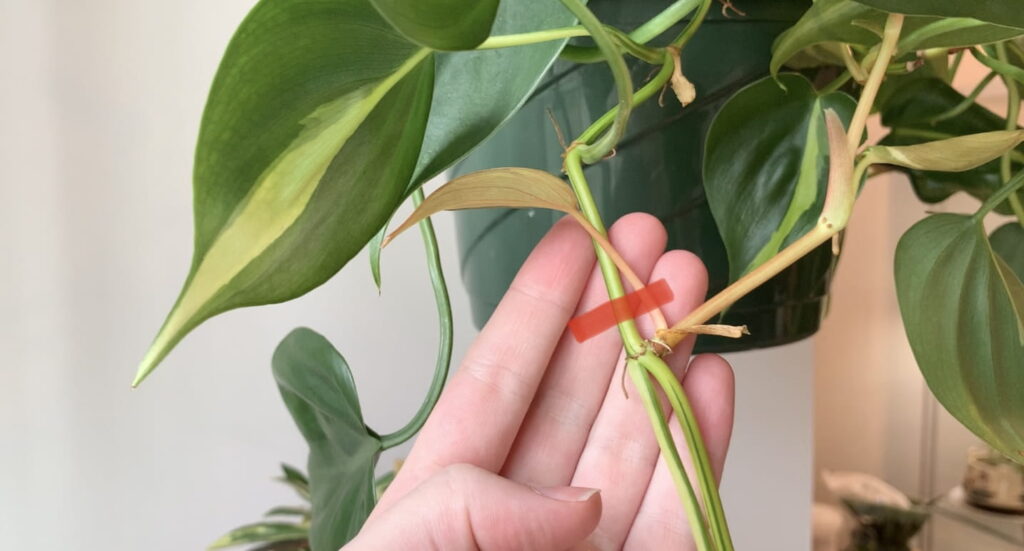
Here’s an example of a node on my philodendron Brasil. It’s right below the red line.
How to Propagate Houseplants Step by Step
First of all, cuttings only need to be a few inches long. I would say between three and eight inches. Eyeballing it is fine, I’m just giving you a ballpark.
- Step 1: Identify a node on a healthy plant.
- Step 2: Use a clean pair of scissors or pruning shears to cut BELOW the node.
“Below” refers to if the vine is pointing towards the ceiling, you would cut below the node. Remember, we want new roots to grow on the cutting, so cutting below the node means the node will actually be included ON the cutting.
Here’s an example. This vine is hanging down, not pointed up towards the ceiling. So, cutting “below” this node would be where the red line is.

NOTE: If you’re pruning a plant to encourage new growth on the plant itself, you’d cut ABOVE the node. This would leave the node on the plant, and a new leaf will eventually sprout from it.
Here’s an example of that on my monstera adansonii. I pruned off some vines a few weeks ago. You can see where I made the cut just above the node and where a new leaf is starting to sprout!
Hopefully this makes it clear how new growth comes from the nodes! Now, back to propagation.
- Step 3: I chose to propagate my cuttings in a jar of water, but another common and easy method is to stick them into some moist sphagnum moss.
- Soak the moss then wring it out until all of the excess water is gone. You’ll also need to ensure it remains moist the entire time your cuttings are propagating in it.
- Step 4: Place the cuttings in bright to medium indirect light.
- Step 5: If your cuttings are in water like mine were, be sure to refill the water when needed, and you can totally replace the water if it starts to get really gross.
- Step 6: Once the roots are two to three inches long, you can pot them up into a small pot with a regular houseplant potting mix and water them thoroughly.
- The pot shouldn’t be too big, or else all the excess potting mix could lead to overwatering your little plant.
- How long it takes for the roots to get two to three inches long will vary with a bunch of factors like the type of plant, light level, time of year, etc. That’s why it’s best to go by ROOT length, not TIME length!
NOTE: You can even leave the cuttings in water permanently, but they just won’t grow as fast this way.
And voila, that’s it! Propagating plants is an awesome way to add more greenery to those little empty corners around your home without buying a new plant every single time.
Giving some rooted cuttings in a pretty vase or a baby plant that you propagated on your own to a plant-loving friend is also a very thoughtful (and easy!) gift to give.
Now that you understand how to easily propagate plants, it’s your turn! Remember, what’s the critical factor when propagating plants? THE NODES!
Catherine says
Does it matter whether the vessel is clear glass or tinted or could it form roots in a ceramic vase with no light on the roots?
Julie, Houseplant Expert says
Good question! It doesn’t matter, the roots don’t need light ?