This post may contain affiliate links. I will earn a small commission, at no extra cost to you, if you make a purchase through these links.
Today’s post is all about how to propagate peperomias. Peperomias are unique in that they can be propagated through leaf cuttings—how cool is that?

I know you guys love learning about plant propagation, so while I have a bunch of general posts on various species of peperomia (list is at the bottom of this post…but read this one first!), I figure they deserve a dedicated propagation tutorial.
There are a few ways to propagate peperomias, but the method I’m talking about today has been the easiest and most effective for me.
Be sure to watch the video tutorial I’ve included so that you can see this method in action!
How to Propagate Peperomias
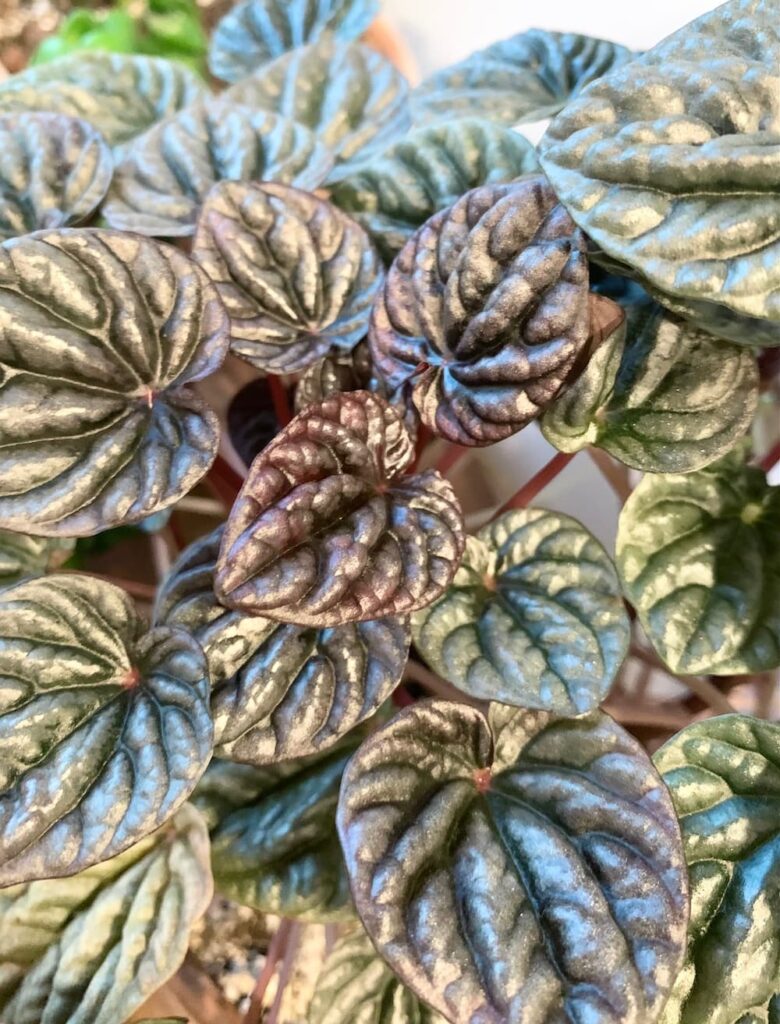
The plant I’m using in this post/video is my red ripple peperomia, but this method works for most other peperomias.
And, if you love the red ripple peperomia as much as I do, you can buy one here!
Step 1
Find a mature, healthy leaf or leaves on the peperomia. Remember, propagation success isn’t guaranteed, so it’s always better to take more than one leaf if possible.
Remove it from the plant by gently plucking the petiole off of the main stem. The petiole is the smaller stem that attaches the leaf to the main branch of the plant.
Step 2
Use a pair of clean scissors to snip off the petiole close to the leaf, but leave a small section of it on the leaf, about an eighth to a quarter of an inch. It doesn’t have to be exact.
Step 3
Use the scissors to cut horizontally across the leaf, just underneath the petiole. You want to kind of cut right up against the petiole in order to help trigger that growth point, but you don’t want to totally cut it off the leaf.
I know this might sound a little confusing. For further clarification, this is the part of my video where I demonstrate this. (The link should bring you to the exact point but, just in case, it’s at 5:26.)
Step 4
Prepare a container of damp potting medium. I like to use sphagnum moss for propagating cuttings, but if you prefer potting mix, perlite, or something else, it’s up to you.
Plant your cutting cut side down into the medium.
Step 5
Keep the leaf cutting in bright, indirect light, and keep the potting medium damp.
In my experience, peperomia cuttings can take a while to get “started.” Once they develop those little roots, though, you’ll soon see tiny baby peperomias growing from where you cut into the petiole (as shown in the photo at the top of this post).
When you have a small plant with roots and a few leaves, you can plant it into a small pot and continue to grow your new peperomia plant. Be sure to use an appropriately sized pot.
I know sometimes we want to use a bigger pot because the small plant will eventually grow into it. In theory, it makes sense. In reality, using a pot that’s too big easily leads to overwatering because of all the excess wet soil that results when you water your plant.
Check out these peperomia care guides for more on these awesome plants:
Leave a Reply