This post contains affiliate links. I will earn a small commission, at no extra cost to you, if you make a purchase through these links.
I’m always on the lookout for fun and easy houseplant DIY projects. On a recent trip to the Dollar Tree, I was inspired by a 3D wreath form kit. See how I turned it into a simple yet elegant plant hanger. Be sure to watch the video tutorial to see it in action!
Plant Hanger Supplies
- Dollar Tree 3D wreath form
- Dried reindeer moss
- Dried Spanish moss
- Hot glue gun with glue sticks
- Monofilament line to hang the planter. I like to use this to give it a “floating” illusion.
- String of turtles – The plant I used in the video, but feel free to use any plant you have!
Dollar Tree Plant Hanger Tutorial
Step 1 – Put together the wreath form
The 3D wreath form comes with basic instructions to put it together. The concept itself is simple but the execution is a little tricky—trying to hold all the rings still while securing it.
It comes with two star-shaped(ish) pieces for the top and the bottom that have bendable tabs for each side of each ring. The are four rings so each of the eight points of the stars grabs onto one side of a ring to hold it all in place. (Check out the video if this is confusing.)
Using at least one of the bendable stars is helpful for getting the rings evenly spaced apart, but I highly recommend securing the top and bottom with glue. I used hot glue and didn’t skimp!
Step 2 – Add a pot to the center
Next, I added a cache pot to the center. I wanted one that would stay there permanently so I could switch in and out different potted plants if I wanted to.
I used a leftover plastic grow pot I had lying around—small enough to be squeezed through the rings to get to the inside of the form. You could try to build the form around a pot if you wanted a bigger pot in the middle.
The wreath form had about a half-inch-long prong sticking up from the bottom center, so I poked a hole in the plastic pot so it could sit right on that prong. Then, I secured it down with more glue.
Step 3 – Decorate the plant hanger
Now it’s time to decorate your plant hanger. I used a mix of dried reindeer moss and dried Spanish moss to achieve a natural/accidental look.
I decorated the top, a little of the bottom, and the top’s underside to cover up any ugly hot glue you could see when I hung the planter. I opted to leave the sides of the rings bare, but you can decorate those too if you want!
Step 4 – Add your plant
Add a small plant of your choice to the center cache pot. I used my string of turtles. I think the aesthetic is beautiful and works well with the moss!
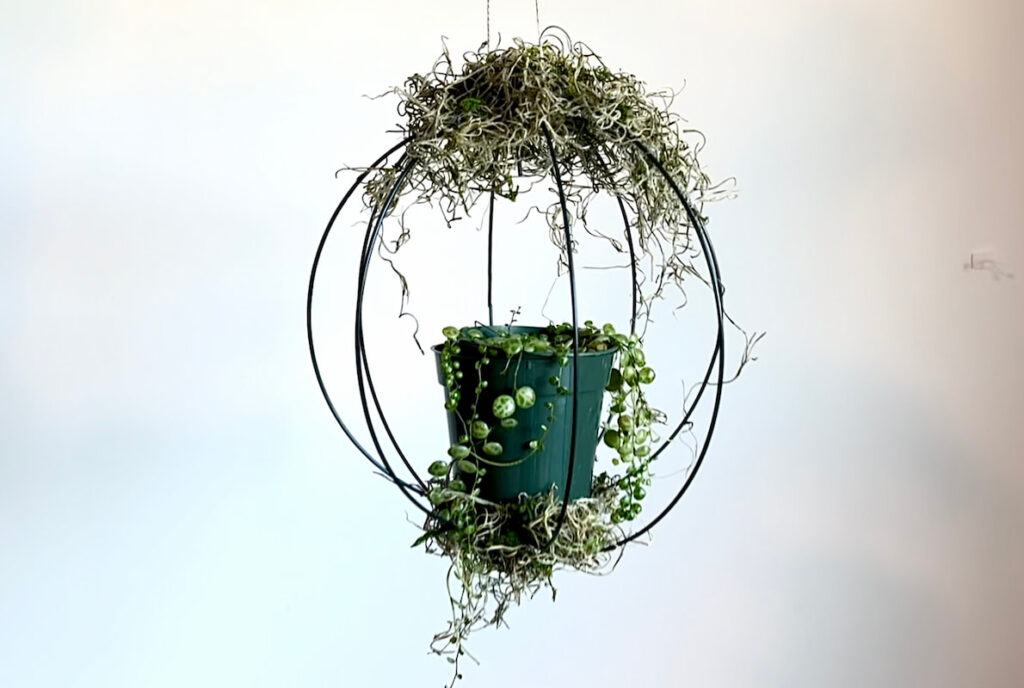
Step 5 – Hang or display your finished planter
Now you can hang your new planter using monofilament line or something similar. I like monofilament line because it gives a “floating” illusion. You can also leave it as is as a display piece, having the planter rest on a side table or a pedestal, for example.
Leave a Reply