This post contains affiliate links. I will earn a small commission, at no extra cost to you, if you make a purchase through these links.
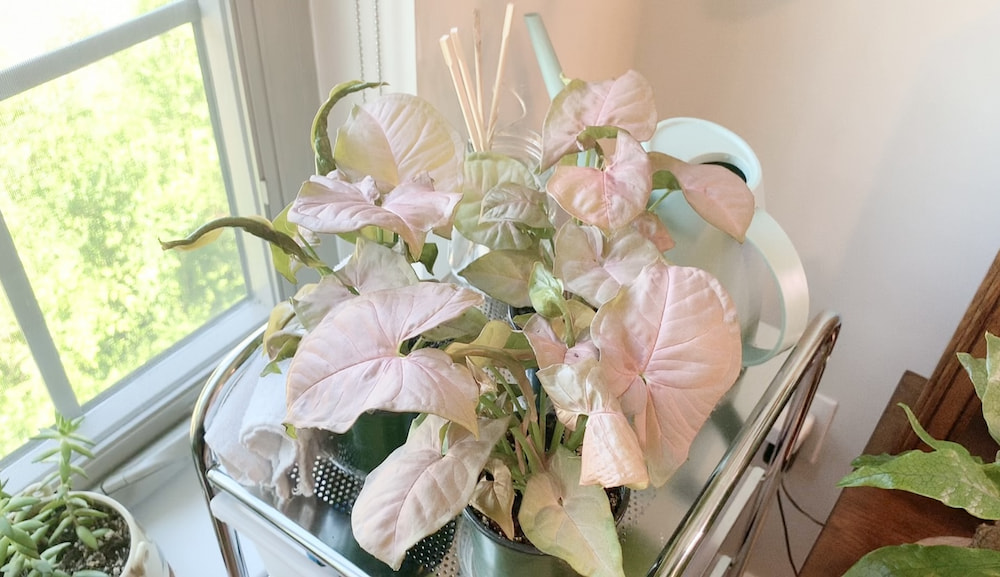
Ah, repotting season is upon us! In today’s post, I’ll discuss how to repot houseplants. Join me as I repot my three little pink syngoniums into one big pot with a moss pole—and don’t forget to watch the helpful video tutorial I’ve included, too!
Supplies for Repotting Houseplants
First thing’s first—what do you need before repotting houseplants?
- A pot. I prefer terra cotta pots over plastic because, being porous, they dry out quicker making it hard to overwater your plants.
- Use a pot one size up from your plant’s current pot. I used a big one because I was potting three little plants together. Make sure it has a drainage hole!
- Consider a moss pole if you’re repotting a vining plant. Plants that climb in the wild will benefit from being able to climb in your home. Letting them use their aerial roots to climb up the moss pole will help them grow larger.
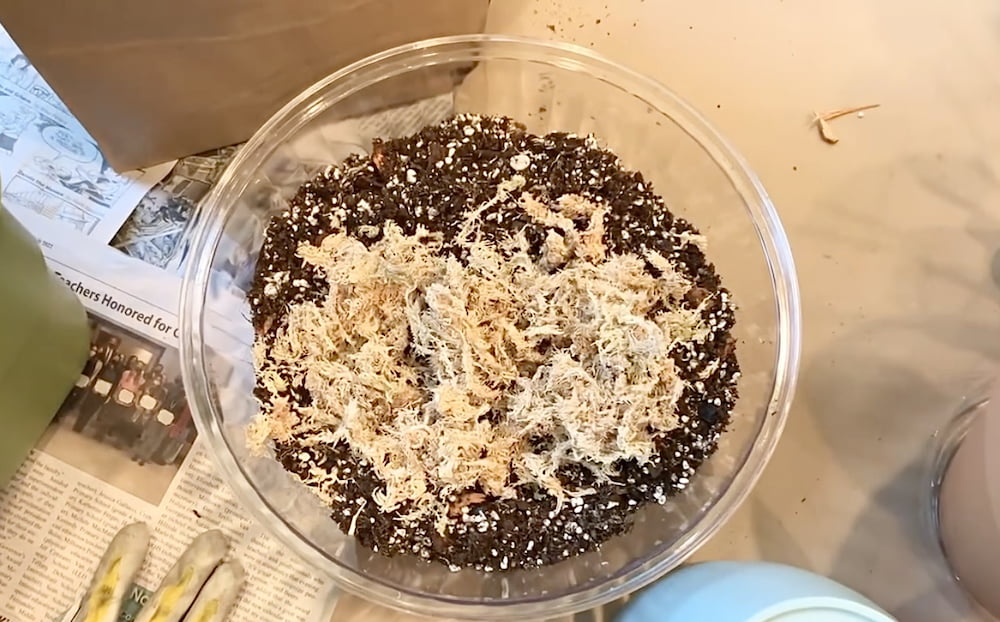
- Potting mix. Because I had all the ingredients on hand, I made my own aroid mix consisting of regular potting mix, peat moss, perlite, orchid bark, sphagnum moss, and charcoal.
- I eyeball this until I get a well-aerated and well-draining mix that still retains some moisture. If you don’t have any of these, a regular houseplant potting mix with perlite for extra drainage will do!
Note: I don’t recommend buying peat moss because it’s not sustainable. I bought a bag of it a long time ago before I knew much about peat moss and I’m just trying to use it up at this point!
If you’re looking for an alternative, I’ve heard that coco coir is a good one.
- Repotting mat. Not necessary but helpful for the mess you’ll 100% be making!
- Last but not least, you’ll need your plant! I’m repotting pink syngoniums in this tutorial.
How to Repot Houseplants
Step 1: Prep Your Plant and Potting Mix
I always water my plants a day or two before repotting. This will help reduce the shock to the roots. I also think it makes repotting easier.
Once I’m ready to do the repotting, I moisten the potting mix. You don’t want it sopping wet, just lightly moist. It’s easier to work with this way.
Because the plants have already been watered AND I’m potting them into moist potting mix, I don’t water them immediately after repotting. I just wait until the next time they need to be watered.
Step 2: Fill Your Pot with Potting Mix
Now you can start filling your pot up with the potting mix. Fill it to a level where, once you put the plant in the new pot, the soil line of the plant will match the new soil line in the bigger pot.
You can also add your moss pole now if you have one!

Step 3: Add Your Plant
Remove the plant from its current pot. To do this, support the top while flipping it over, then tap and wriggle the bottom of the pot until it comes out.
You might have to work at this a little, just try to be gentle.
Don’t break up the entire rootball of the plant. Just brush away any excess soil and gently massage the bottom of the rootball so as to loosen it up a little but not actually break roots.
Then, put the plant into the center of the new pot. If you have more than one plant like I did, space them out evenly so they all have room to grow.
Step 4: Fill In the Gaps
Now that you’ve got your plant positioned where you want it, fill in the empty gaps around the plant with potting mix up to the soil line.
You can push the mix down gently to make sure there aren’t any air pockets, but you don’t need to compress it down too much.
If you have a moss pole and your plant is large enough, you can secure it to the moss pole using some string or twist ties (not too tightly, though).
This will help your plant to eventually attach its aerial roots to the pole so it can keep climbing. My plants aren’t big enough yet, so I’ll secure them to the pole once they grow a bit more.
Step 5: Let Your Plant Chill
Put your plant back in its original light level and give it a few days to adjust from being repotted. The roots have been through a lot and they need to rest.
As I mentioned earlier, I don’t water the plant at this point since I watered it before repotting and it was potted into moist potting mix.
Some people say you should water plants immediately after repotting them, but I do what works for me. I’ll just wait until the next time the plant needs to be watered.
I’m in love with these pink syngoniums—they remind me of cotton candy or strawberry ice cream. I can’t wait until they create one big, bushy plant!
Leave a Reply