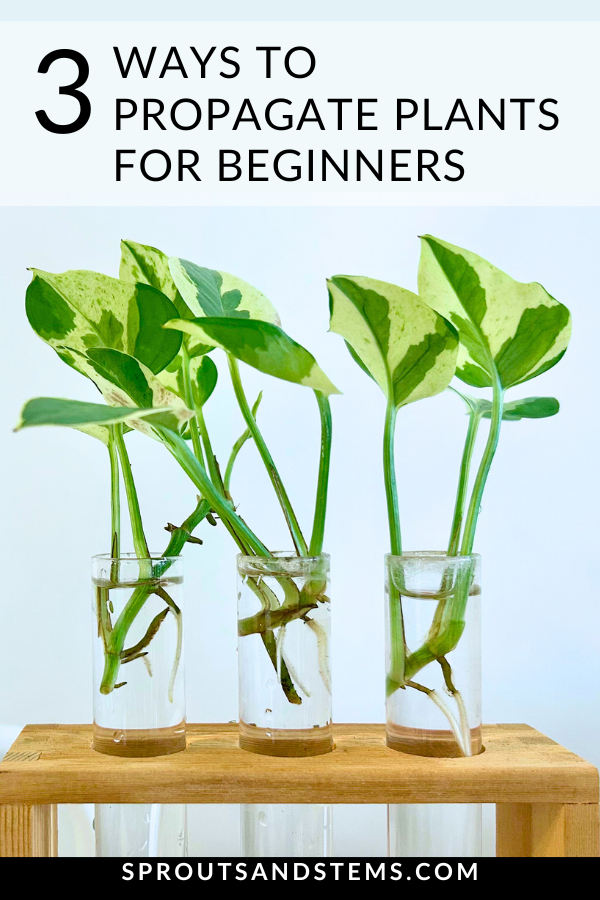
Simply put, propagating plants means creating new plants from existing ones—and it’s actually pretty easy once you get the hang of it! Learn three beginner propagation methods below, and be sure to watch the video tutorial for all of the helpful details.
1. Stem Cuttings in Water or Soil
Cut a piece of stem just below a node (the growth points along the stem where leaves, other stems, and roots emerge).
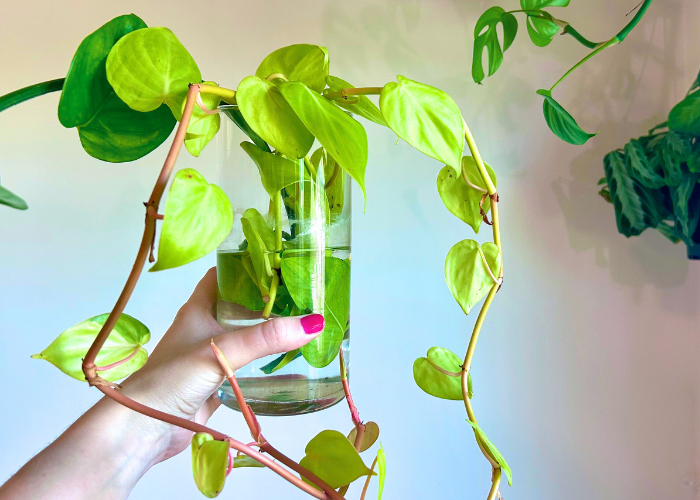
- Water method: Place the cutting’s node end in clean water. Roots will grow from the submerged node within a few weeks.
- Soil method: Insert the node into lightly damp soil or sphagnum moss. Keep the medium lightly moist until roots develop.
2. Laying Stems Across the Medium
Instead of standing cuttings upright, lay the vine horizontally across the soil or sphagnum moss. In this method, roots will grow from several nodes, creating a fuller plant, rather than just the node on the end of the stem.
- Make sure each node touches the surface of the medium since that’s where roots will form.
- Secure the vine down with bobby pins or paper clips (optional, but helpful to keep them in contact with the medium).
- A humidity dome or plastic bag over the top helps maintain moisture and speed up rooting.
3. Single Node Propagation (No Leaves Needed)
When you have a bare stem with just a node and no leaves, you can still try to grow roots! While this method is not foolproof, it’s the perfect opportunity to try to save bare or scraggly vines.
- Place the node on top of damp soil/moss with a humidity dome or seal it inside a small plastic bag with damp soil/moss.
- Be patient—this method can take a while for roots to appear.
So, what is the easiest way to propagate plants? While these three methods are all beginner friendly, propagating stem cuttings in water is the easiest way. It is a straightforward method, and using water instead of soil allows beginners to monitor the progress of the roots.
Leave a Reply